Dynamic no fins Technique for beginners
When teaching and introducing divers to Dynamic no fins, one of the purest and most difficult of techniques to master, There is many elements that can be trained to optimise your speed and comfort.
For a new freediver getting started, no fins can be a very frustrating. divers usually feel slower, heavier, stressed out and generally uncomfortable. Many divers decide too early to not pursue it and give up entirely on the discipline because of these reasons. however if a diver perseveres with practice they will find the skills they learn transition across all disciplines when it comes to learning to move water while also developing a mastery of neutral buoyancy and proper streamlining positions.
Getting started
EQUIPMENT
For equipment let us start with the head, the front of the human torpedo we are trying to make. Think of a tuna, one of the fastest ocean predators out there. their skin is smooth and body shaped in a sharpened elliptical shape. With a burst of acceleration in pursuit of prey they retract their dorsal fins to reduce drag. this makes them a slick torpedo capable of top speeds of 75 km/h. this evolutionary adaptation has created an incredibly efficient ocean predator.
Humans are nothing like tuna.......
First thing to work on is your hair, unless you plan on keeping a clean shaven head its best you wear a swimming cap. this will reduce a lot of drag created by your hair and allow for a better hydrodynamic profile, for longer hair make sure to tie it up and tuck it under, every bit counts. Next up is your eyes, lose the bulky mask that is dragging plenty of water and opt for a pair of low profile racing socket goggles and a nose-clip. for pool a heavy duty metal freediving clip will last forever but a soft plastic or carbon composite will feel more comfortable. if you plan on only having one for both depth and pool opt for a metal one as they will be less prone to breaking and allow for a firm base to equalize against.
Next up start looking into a suit, I prefer a full body 1-piece smooth skin suit. the human body has a number of folds and uneven surfaces that can cause drag. A well fitting wetsuit can reduce the effects of this. when shopping for the best type of wetsuit look for these features.
full body smooth skin rubber, no textile panels.
flexible shoulders allowing for more range of motion.
no external stitching, blind stitching internally with glued seams preferred, avoid just glued joins as they will fail easily.
even panel thickness, try to have the same thickness across the suit or little variation, some triathlon suits have 5-7 mm chest panels which can lead to uneven buoyancy profiles.
thick firm neck and wrist seals, good seals prevent water entering your suit. this is very important during a push off where the sudden acceleration can very easily open seals adding extra mass and creating soft pockets on the suit which in turn increase drag
WEIGHT
Get your weighting sorted. The key to a good glide and easy swimming is setting up a good neutral buoyancy. A perfectly neutral buoyancy is not sinking or floating but hovering mid water, this is very individual for people how much weight and where you need to carry it. ideally, carry 80% of your lead in a neck weight and the remainder on a belt if needed to help you level out the legs. this will change a lot over time with new divers as they learn to breathe up properly or if you change suits and even your physical properties (body weight distribution, fat, muscle density). other variations can even involve small strips of lead slipped under your ankle seals for those with very floaty feet.
To test your buoyancy take a full inhale then push off the wall with your arms locked in the streamlined position. allow yourself to glide holding your form while not making any other movements, if your weighting is correct you should almost come to a complete stop before slowly rising to the surface. ideally for dynamic having a small amount a positive buoyancy can help as you will lose a little buoyancy over longer swims as air pockets in your suit dissolve. The advantage of good buoyancy is that now you are no longer wasting propulsion on keeping off the surface or off the bottom, all your power output can finally start to drive you towards your goal.
TECHNIQUE
STREAMLINING
Having all the right equipment and weights is great but to really reduce your drag work on your streamlining. there are 3 main positions that can be improved with proper practice.
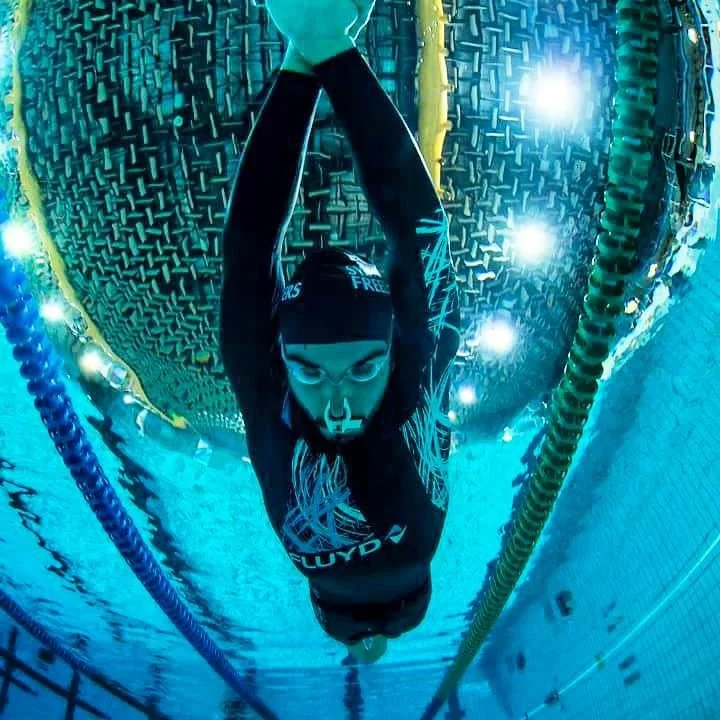
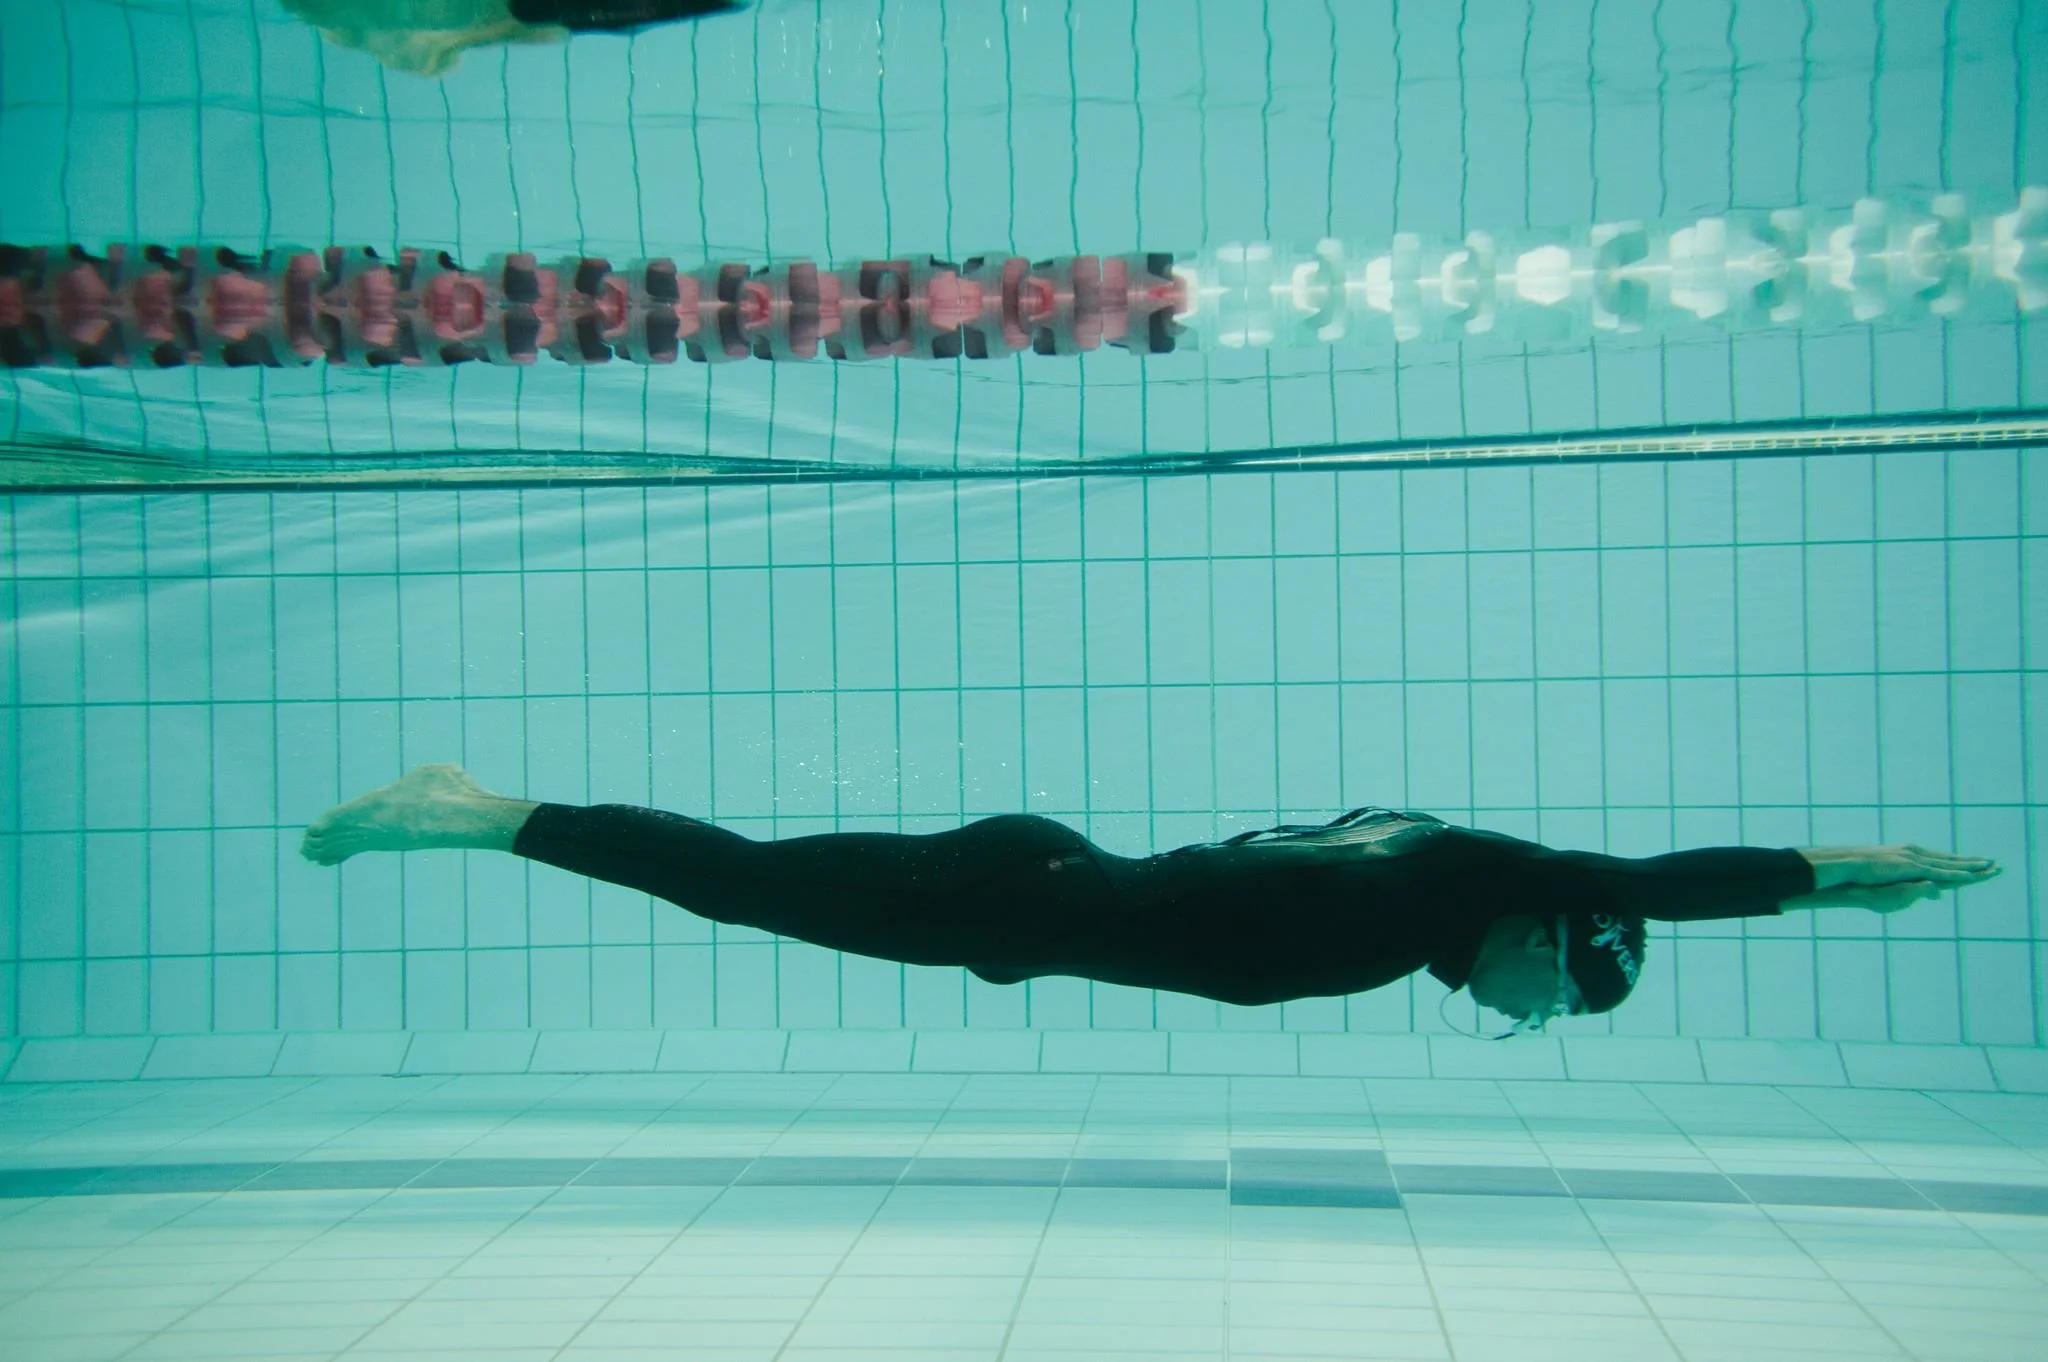
first the push off position. the aim is to make your body like a javelin, a sharp point moving along the body tapering off to another narrow point. to hold the proper position place your hands flat over each other and use the top hand's thumb to lock the grip. then rotate your elbows and turn them in and up so your elbow is facing the ground. repeat this position behind your head, if your elbows are touching the back of your head you are on the mark. try to remember to always keep them touched. For the push off itself keep your knees facing down and use the front balls of your feet to push, practice pushing off as flat as possible instead of pushing down ( filming this part for review helps) once you push off focus on keeping your big toes touching and feet pointed, this will reduce the drag from your feet and bring your body into a long narrow elliptical profile. practice the streamlined arms dry and work on shoulder flexibility with regular stretching to make it as effortless as possible to hold the position.
next is the position after the first arm stroke, think torpedo. as you complete an arm stroke your hands should be resting over your the front of your hips. this position brings your shoulders into a relaxed position while keeping your hands close to your body. if your arms are to the side they will create plenty of unnecessary drag. keep your feet together, pointed and big toes touching. try placing one toe over the other for a relaxed way to contact grip the toe.
the final part is the kick transition back to streamlining, the move that brings you back to the start. this is where you will lose plenty of buoyancy and for most come to a complete stop, there are a few ways you can reduce the deceleration. keep your knees close or together, opening your legs too wide is throwing up the handbrake in no fins. lift your ankles back to bring around to kick, don't raise your knees, raising your knees underneath to kick will slow you down an will cause you to bend down at the hips. for your hands, the transition from hips to streamline is all about timing and low drag. keep your elbows close to your body, raise your hands vertical like doing the robot and thread them past your ears to overlay them behind your head as your shoot them forward into the streamlined position. timing is key for this part as the arms should hit full streamline at the same time the kick is starting to push water, any mistiming means lost power. practice this by swimming slowed down and focus on feeling the water as you move, it will take time but you will get an idea eventually of when you make your move.
TIMING IS EVERYTHING
The timing of your arm stroke and kick can change the rhythm of your swim and can greatly affect your lap times as well. everyone has a preferred pace they swim at but a good lap time to aim for is between 50-55 seconds. as for the number of kicks and strokes, it is really individual with taller divers having to make fewer moves due to natural physiological advantages of length or if you prefer to swim with less glide between movements. the best way to find your timing is to feel out how fast you are moving and finding that sweet spot where you are still moving through the water but are beginning to slow down. try to avoid coming to a complete stop if you can as it only creates more resistance to get moving again.
THE ARM STROKE, THE BOOSTER
The arm stroke of no fins is the part which everyone excels at first, there a few ways you can optimise this for reducing any drag as well as lost power. The arm stroke always should start from a streamlined position.
release your hands and pull down the front of your body, once the arms reach your shoulders your elbows should be bent at roughly 90-degree angles pulling the water straight back. this position will deliver plenty of power driving you directly forward.
A common mistake with beginners is pulling sideways with the hands keeping a straighter arm, this not only diverts water in a less efficient manner but also will create unnecessary drag as the arm moves down the body.
From the shoulder height position bring your elbows in towards the sides of your body while continuing to pull water underneath you, finish the stroke with one last pull from your forearms and let them follow through to straighten out over your hips into the streamlined position.
With practice, you will find the right amount of power to output with your stroke. the stroke should be firm and not too fast otherwise you will lose power but fast enough that you are not creating drag by keeping your arms out for too long. practice the stroke dry training while standing up and also while on the surface with a kick board between your knees for buoyancy.
THE KICK, EVERYONE HATES THE KICK
The kicking part of the no fins technique is where plenty of divers struggle unless they have any past experience with breaststroke from a swimming background. The key points for developing a strong kick is to be patient and take your time learning the little movements. plenty of divers I have coached have learned plenty of bad habits with the kick which are hard to unlearn without plenty of work and time developing the right coordination.
Sit on the edge of the pool with your hips on the edge and legs dangling free. bring both legs together touching your big toes together and pointing your feet like a synchronised swimmer and straighten your legs out across the surface.
Next, relax your legs and begin to draw your ankles back towards the pool wall while flexing your feet up. the key to this part is to keep your thighs from moving position.
Once your ankles are as far back as possible, Keep your knees together and start to bring them around turning the insteps of your feet inwards to make your foot into a scoop, then quickly close out the kick and return your feet to the toes pointed straight leg position from the start. a big mistake most divers make is to keep their toes pointed and kick using the side of the foot instead, this produces little propulsion for the energy expended.
Repeat this until you feel more comfortable with the movement of your feet, place plenty of focus on turning the instep inwards as that will be vital for providing good propulsion. Once you are comfortable with this you can try it with a kickboard, either on your back with the board wedged between your knees or pushing it in front. Spend time doing slow laps first focusing on the technique, then build up to more powerful and faster drills over time.
WHAT ELSE CAN I DO?
Dry training specific for no fins will provide many benefits for other disciplines too. focus on your flexibility with regular stretching on your off days from the pool. Spend a little time on the most common spots when you can, especially around your shoulders and feet to provide that range of motion for the streamlining position and scooping your feet through for the kick.
Get swimming!!! for no fins it is required to have an understanding of not only how the water moves around you making drag but how you can move the water. Regular lap swimming will help achieve this as well as improve your shoulder and chest strength/mobility. It is recommended to swim on non training days or after your training so you will not negatively impact your breath hold.
For gym try to avoid loads of heavy free weights and instead use your own body weight ( Its free and you can take it anywhere ) regular sets of pushups, planks, chin-ups (front grip wide preferred) and any number of squats/lunges you can bear will set you down the right path. one piece of gear I would recommend is a resistance band. use this for working on your delicate muscles and developing more joint stability. remember to always rest well and give your body time to recover between heavy gym and pool training.
Now put it together, and go get it!!!!!
Any other questions about techniques or if you wish to find some more training drills feel free to contact for other training advice, for a more detailed look at some dry stretches check out the video below on some streamlining improvement exercises
Cheers,
Jack


